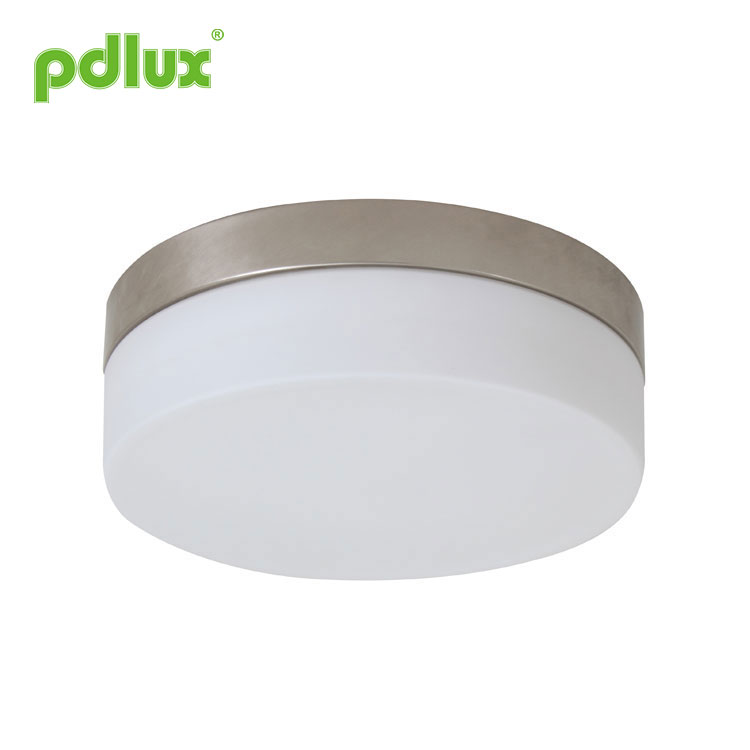
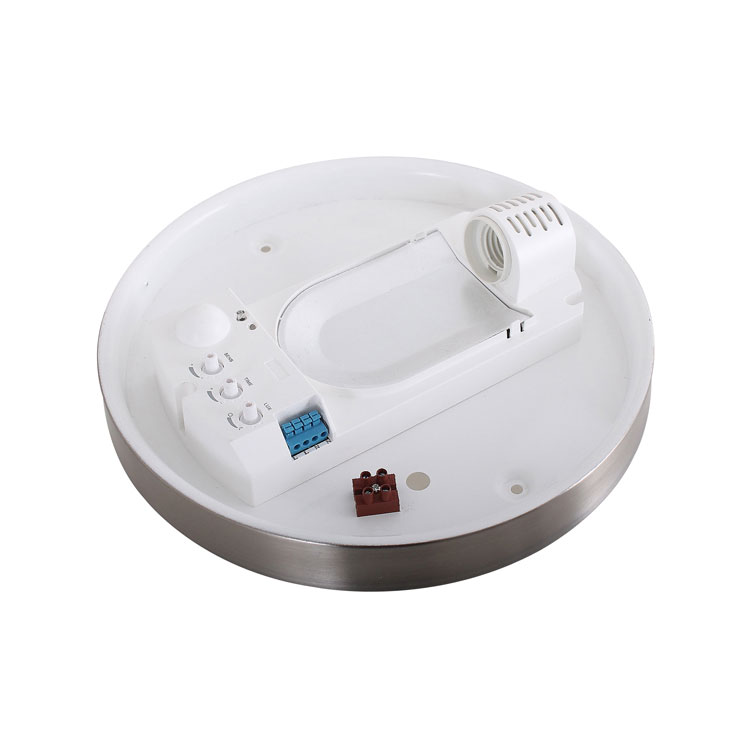
Motion Sensor Ceiling Light with E27 Lamp
As a professional Motion Sensor Ceiling Light with E27 Lamp manufacture, you can rest assured to buy Motion Sensor Ceiling Light with E27 Lamp from our factory and we will offer you the best after-sale service and timely delivery.
Model:PD-IN2008
Send Inquiry
Product Details
Microwave Sensor Lamp PD-IN2008 instruction
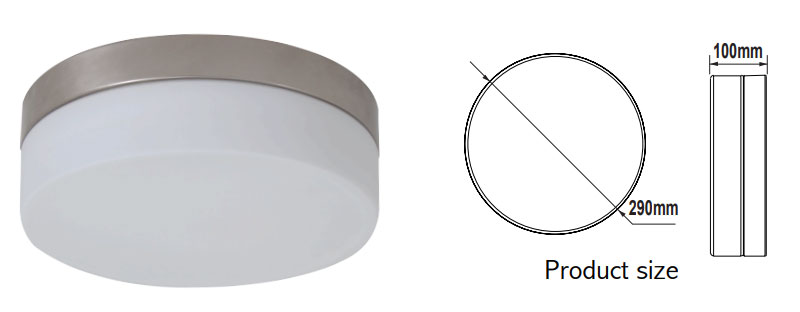
PRODUCT INFORMATION
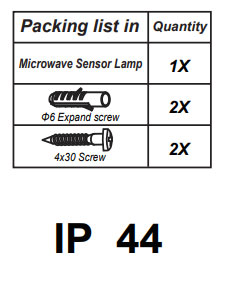 |
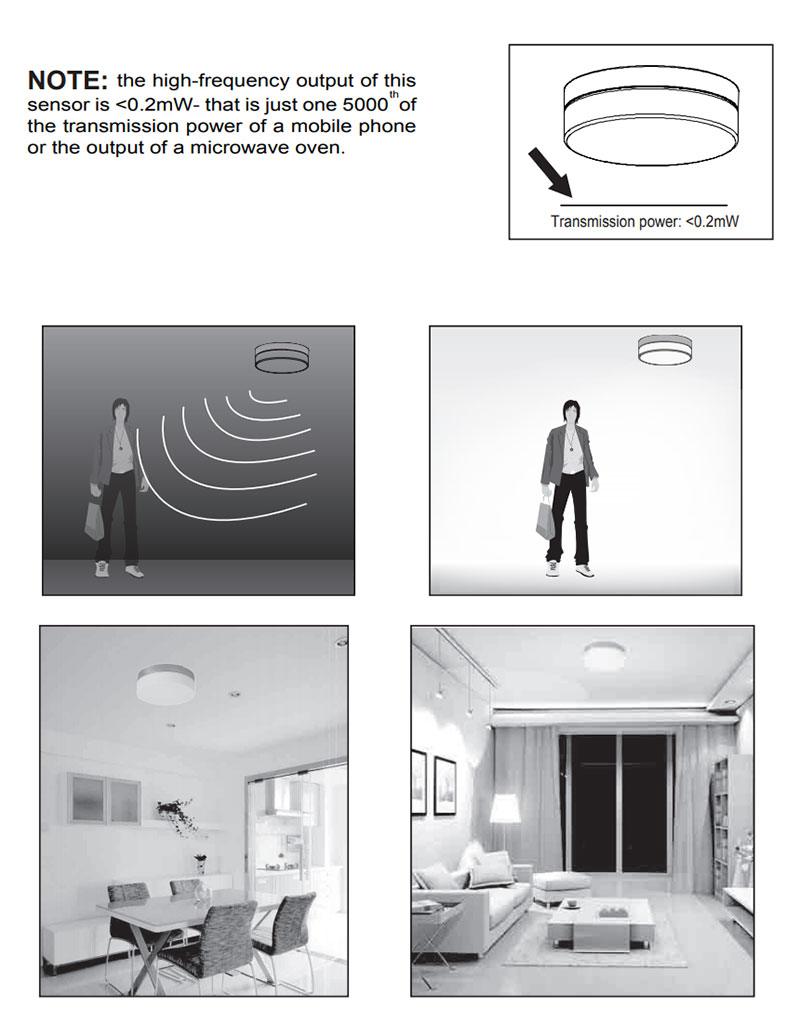
This product appearance is concise, easy, use range (sitting room, bedroom, study, corridor, etc), function of advanced internal microwave sensors try products humanized control. The microwave sensors is according to the microwave doppler effect <the basic principle of radar> , it can be widely used in as automatic control switch, the security system, and automatic video control system of ATM, as well as other automatic induction control area. The detection way has the below advantages compared with other as follows: 1. Non-contact detection, 2. Suitable for bad environment, immune to temperature, humidity, noise, air, dust, light…3.RF interference ability, 4.Transmission power only 0.2 mW, It will not harm the human body. Simple installation+ easy wiring. We use appropriative micro processing integrator, not only for high sensitivity and wide range of detection, and on very reliable work, error rate is extremely low, It can stable working on the temperature range: - 15 ~ + 70 degrees. |
NAME OF EACH PART
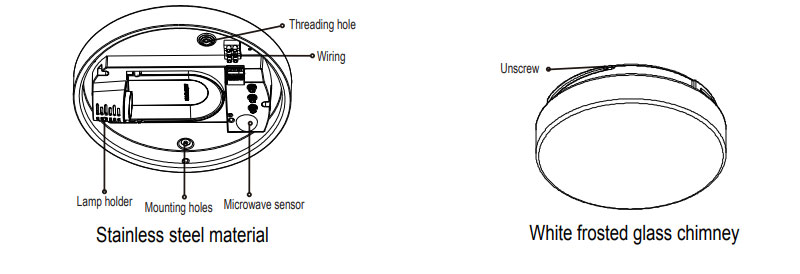

SPECIFICATIONS
Power source: 100-130VAC
220-240VAC
Power frequency: 50/60Hz
HF system: 5.8GHz CW electric wave,
ISM band
Transmission power: <0.2mW
Rated load: (Incandescent)60W.MAX/E27
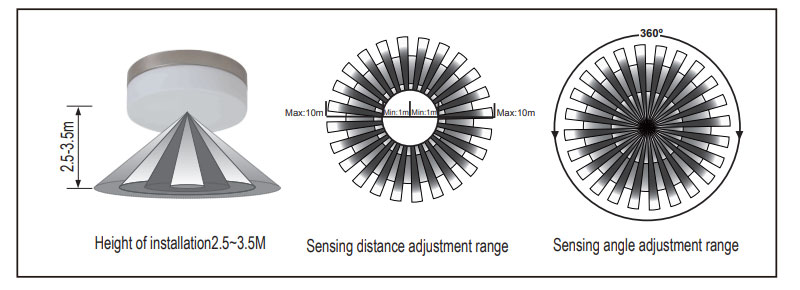
Detection angle: 360°
Detection range: 1-10m (radii.) (adjustable)
Time setting: 8sec to 20min (adjustable)
Light-control: <10-2000LUX (adjustable)
Standby power: <0.9W
Installation: ceiling mount
INDUCTION RANGE
PROCEDURE OF INSTALLATION

Note:Please bring the following tools

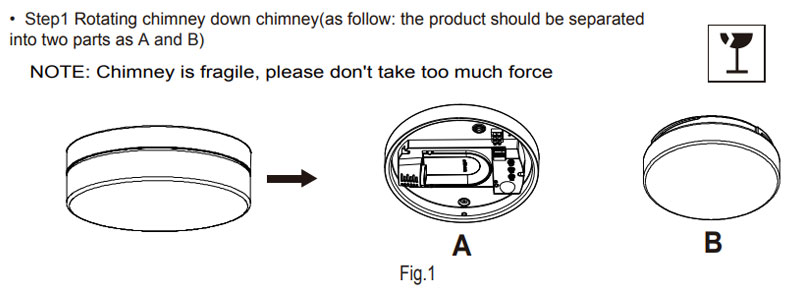
• Step2 Turn the knobs to the ideal conditions (as Fig.2)

Detection range setting (sensitivity)
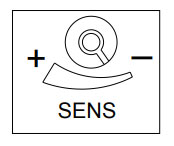
Detection range is the term used to describe the radii of the more or less circular detection zone produced on the ground after mounting the sensorlight at a height of 2.5m, turn the reach control fully anticlockwise to select minimum reach (approx.1 m radii), and fully clockwise to select maximum reach (approx. 10m radii).
Solutions of prevent the power network pulse interference the products:
Due to the difference of regional interference power network, the pulse of interference is uncertain,so the user are not suggested to adjust the sensitive to the maxium when using.Suggestion:Please install and adjust the sensitive in the appropriate distance using,do not set the maxium sensitivity to prevent misoperation.
ATTENTION:
When use this product, please adjust the sensitivity to an appropriate position you need, please do not adjust the sensitivity to maximum, to avoid the product does not work normally caused by wrong motion.Because the sensitivity is too high easily detect the wrong motion by wind blowing leaves & curtains, small animals, and the wrong motion by interference of power grid & electrical equipment. All those lead the product does not work normally !
When the product does not work normally, please try to lower the sensitivity appropriately, and then test it.
Time setting
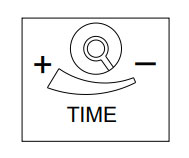
The light can be set to stay ON for any period of time between approx.8sec(turn fully anticlockwise) and a maximum of 20min(turn fully clockwise). Any movement detected before this time elapse will re-start the timer. It is recommended to select the shortest time for adjusting the detection zone and for performing the walk test.
NOTE: after the light switches OFF, it takes approx. 1sec before it is able to start detectingmovement again. The light will only switch on in response to movement once this periodhas elapsed.
Light-control setting

The chosen light response threshold can be infinitely from approx.10-2000lux. Turn it fully anti-clockwise to select dusk- to-dawn operation at about 10lux. Turn it fully clockwise to select daylight operation at about 2000lux. The knob must be turned fully clockwise when adjusting the detection zone and performing the walk test in daylight.
• Step3 Put the base of the product on the ceiling to make the drilling mark (as Fig.3)

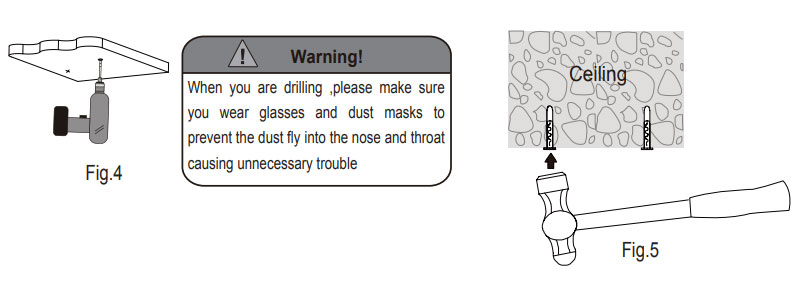
• Step4 Install the product on the place where you marked (as Fig.4)
• Step5 Knock the plastic expansion screw into the hole which you drill (as Fig.5)
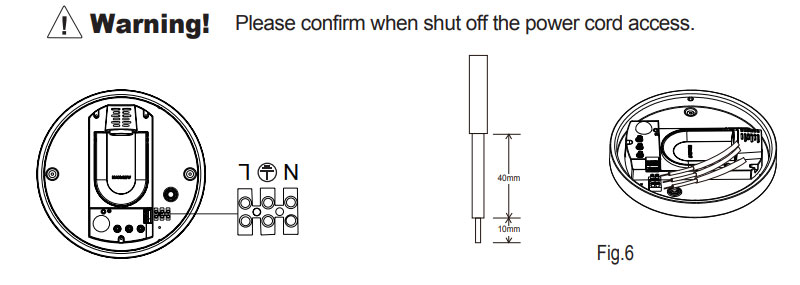
• Step6 Put the power line through the line hole to connect on the wiring (as Fig.6)
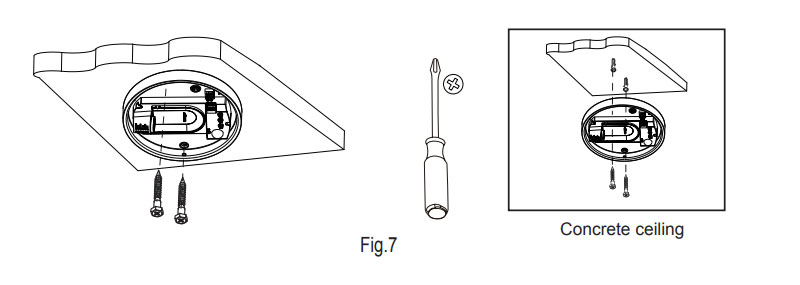
• Step7 Fix the base of the product on the selected place with the screws (as Fig.7)
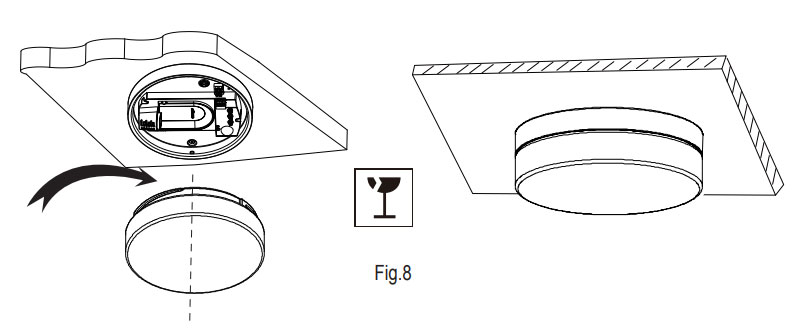
• Step8 Will rotate, cover chimney on base (as Fig.8)
TROUBLESHOOTING
| Malfunction | Cause | Remedy |
| Sensorlight will not switch ON | wrong light-control setting selected | Adjust setting |
| bulb faulty | Change bulb | |
| mains switch OFF | Switch ON | |
| Sensor light will not switch OFF | continuous movement in the detection zone | check zone setting |
| Sensorlight switches on without any identifiable movement | light not mounted for detecting movement reliably | securely mount enclosure |
| movement occurred, but not identified by the sensor(movement behind wall, movement of a small object in immediate lamp vicinity etc.) | Check zone setting | |
| Sensorlight does not switch ON despite movement | rapid movements are being suppressed to minimize malfunctioning or the detection zone you have set is too small | Check zone setting |

● Please confirm with prefessional installation.
● Please cut off power supply before installation and removal operations.
● Make sure that you have cut off the power for safety purposes.
● Improper operation caused losses, the manufacturer does not undertake any responsibility.
We are committed to promoting the product quality and reliability, however, all the electronic components have certain probabilities to become ineffective, which will cause some troubles.When designing, we have paid attention to redundant designs and adopted safety quota to avoid any troubles.
This instruction, without our permission, should not be copied for any other purposes.


