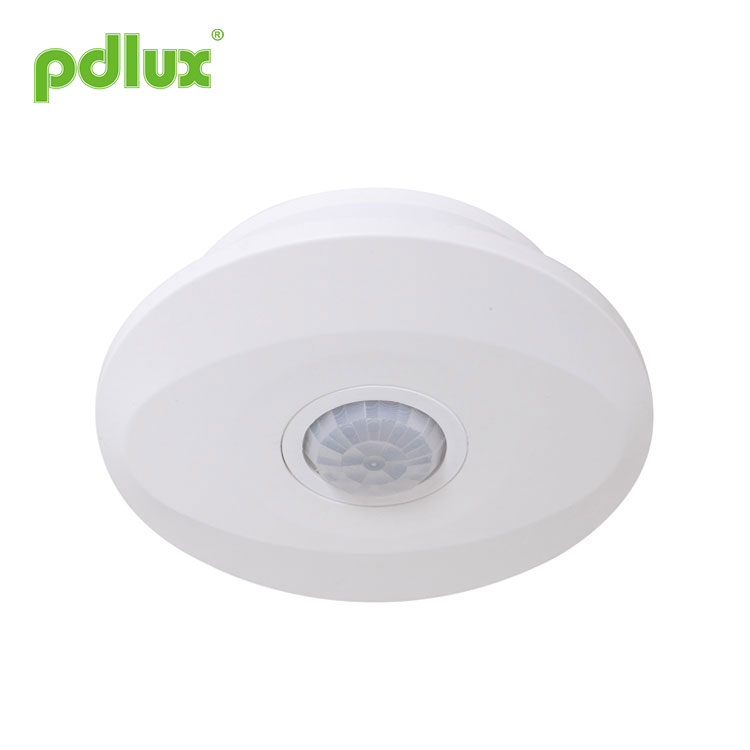
PIR Motion Presence Sensor
The following is an introduction to PIR Motion Presence Sensor, I hope to help you better understand PIR Motion Presence Sensor. Welcome new and old customers to continue to cooperate with us to create a better future together!
Model:PD-PIR130
Send Inquiry
Product Details
PD-PIR130 Infrared Sensor Instruction

Summary
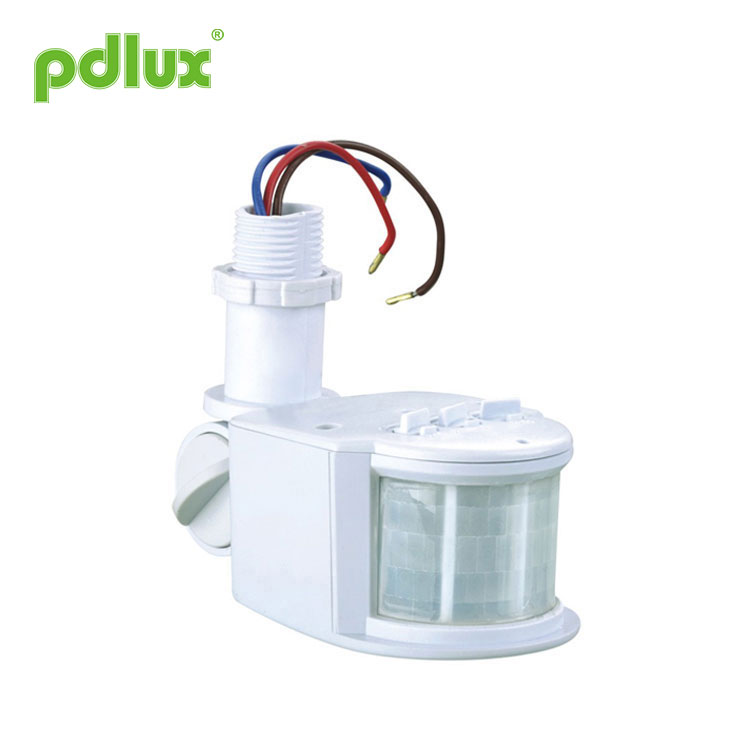
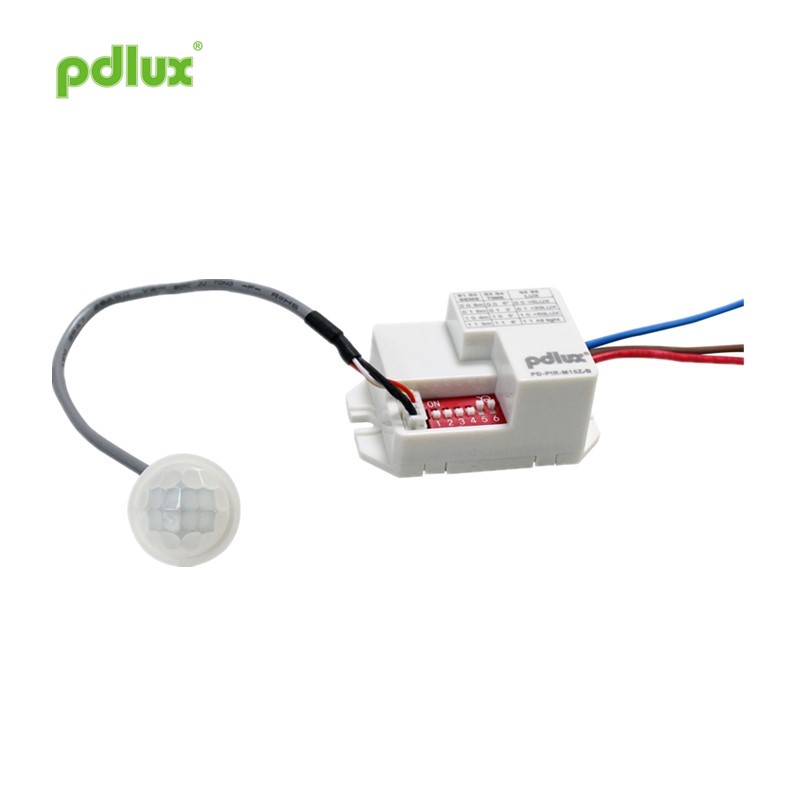
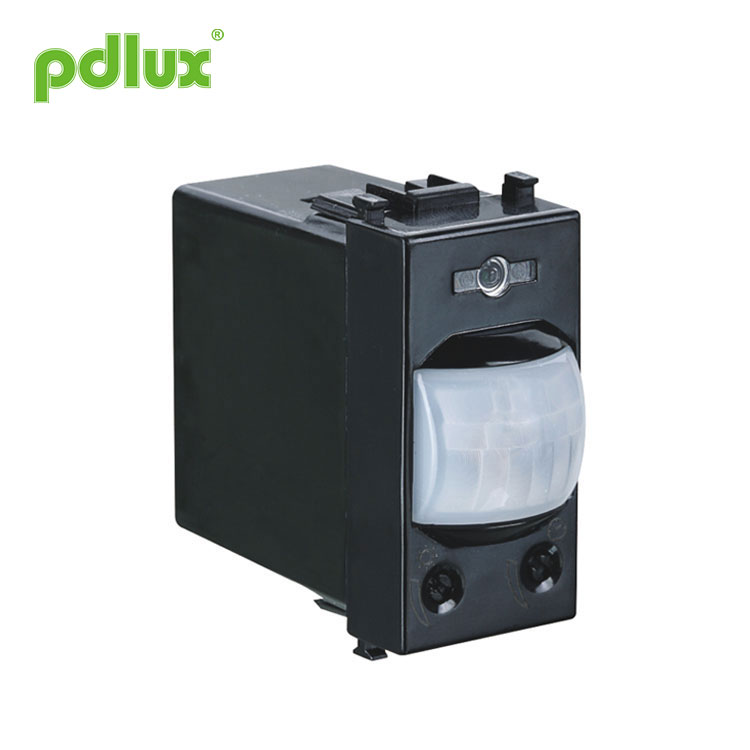
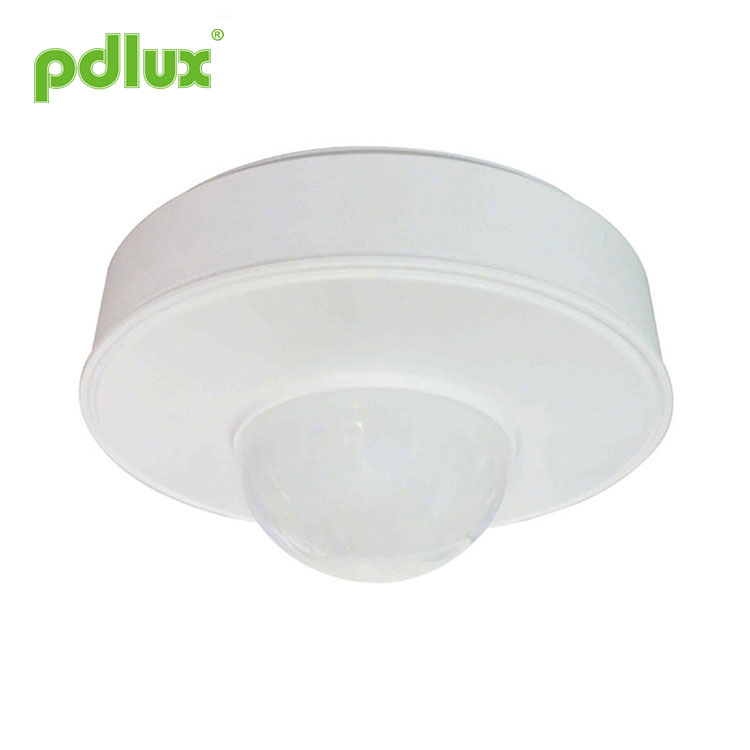
The PIR Motion Presence Sensor is a PIR sensor switch, utilizes the infrared energy from human as control-signal source and determine the light to need to work or not, and control the light on and off automatically .When one enters the detection filed and trigger the sensor to work ,the light turns on; when one leaves the detection filed and the setting time reaches, the light will turn off.It can detect the ambient light illumination automatically and set and adjust the value according to the fact need. Such as, the light will turn on and works when the ambient light illumination is under setting value. once it exceeds the setting value, the light will stop working.The light will be on until the time-delay comes when the sensor is triggered. Once detected the constant signal, the time will be overlaid and the light will be on constantly.It can be installed in indoor, corridor and public-building.
|
Specifications Power source: 220-240VAC Power frequency: 50Hz Rated load: 800W Max.tungsten 100W Max.fluorescent Time setting: (8±3)S-(7±2)Min (adjustable) Light-control: <10LUX~2000LUX (adjustable) |
Detection range: 1-4m Max (radii.) (adjustable) Detection angle: 360° Installation height: 2.5m~3.5m Working temperature: -10~+40°C Detection motion speed: 0.6~1.5m/s Working humidity: <93%RH |
Sensor information

Function
Detection field: the detection field is made up of up and down, left and right service field, it can be selected according to the consumer’s desire. But the moving orientation has great relationship with the sensitivity.
Can identify day and night: the light control can be adjusted freely when it works. It can work in the daytime and at night when it is adjusted on the “sun” position (max); but it can only work in the light control less than 10lux when it is adjusted on the “moon” position (min). As for the adjustment pattern, please refer to the testing pattern.
Time delay can be added continually: when it received the second induction signal after the first it will compute time once more on the rest of the first time delay basic.(Set time)
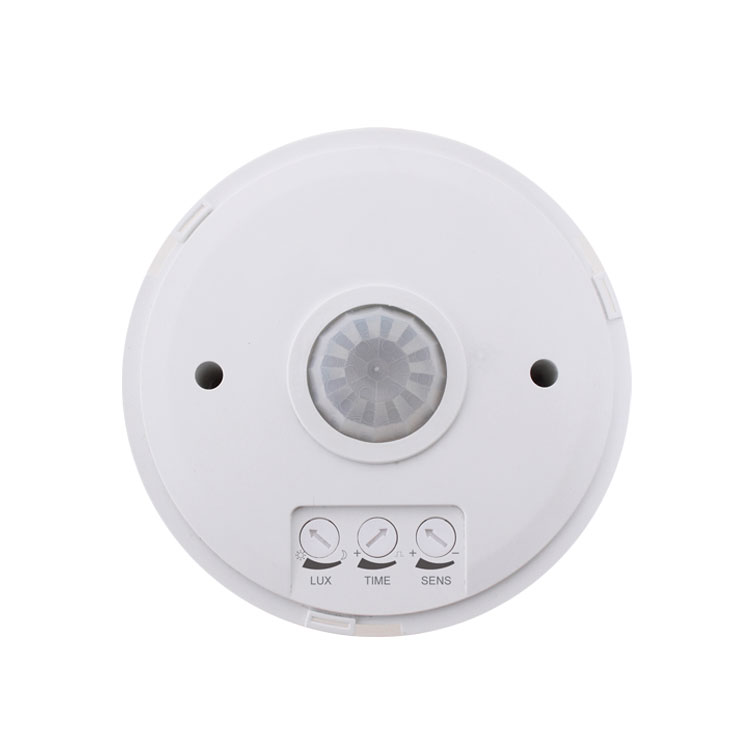
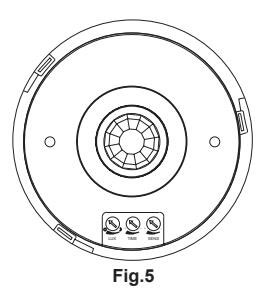
Light-control potentiometer (LUX): clockwise the knob to increase its value; anti-clockwise the knob to decrease its value.
Time potentiometer (TIME): clockwise the knob to increase its value, the maximum delay time is (7±2) minutes; anti-clockwise the knob to decrease its value, the minimum delay time is (8±3) seconds.
Sensitivity potentiometer (SENS): clockwise the knob to increase its value, the maximum distance is 4m; anti- clockwise the knob to decrease its value, the minimum distance is 1m.

Procedure of installation
• Turn off the power.
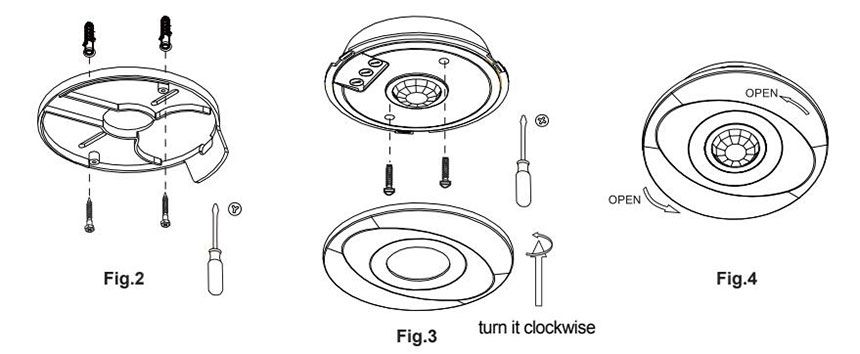
• Knock the plastic expansion screw into the hole which you drill and fix the base of the product on the selected place with the screws. (as fig.2)
• Connect the power into the connection-wire column of the sensor according to connection-wire diagram.
• Fix the sensor on the base with the screws (as fig.3)
• Put the top cover on the sensor, turn it clockwise and you will hear “bong ” and switch on the power to test.
• Installation is ok.
Test
1. Turn the light-control potentiometer clockwise to Maximal value, the time delay potentiometer counterclockwise to Minimal value, the sensitivity potentiometer clockwise to Maximal value.
First step: Start the sensor ceiling test under the greater than 1000 LUX environment (daytime). People walk horizontally in the 4 meters area, then the sensor will start load to work when it has detected the signal. And then people stop moving, the load will stop working in 8±3S.
Second Step: Repeat the first step under the the less than 10 LUX environment (night). The sensor starts to detect.
|
2. Turn the light-control potentiometer counterclockwise to Minimal value(night mode), the time delay potentiometer clockwise to Maximal value, the sensitivity potentiometer counterclockwise to Minimal value. First step: Start the sensor ceiling test under the greater than 1000 LUX environment (daytime). People walk horizontally in the 1 meters area, then the sensor will not detect. And then people stop moving, the load will stop working in 8±3S. Second Step: Start the sensor ceiling test under the less than 10 LUX environment (night). People walk horizontally in the 1 meters area, then the sensor will start load to work when it has detected the signal. And then people stop moving, the load will stop working in 7±2Min. |
 |
Notice: when using this product, please adjust the sensitivity (detection range) to an appropriate value but the maximum to avoid the abnormal reaction caused by the easy detection of the wrong motion by the blowing leaves & curtains, small animals or the interference of power grid & electrical equipment.All the above mentioned will lead to the error reaction.
When the product does not work normally,please try to lower the sensitivity appropriately, and then test it.
Pay attention to installation
Notes
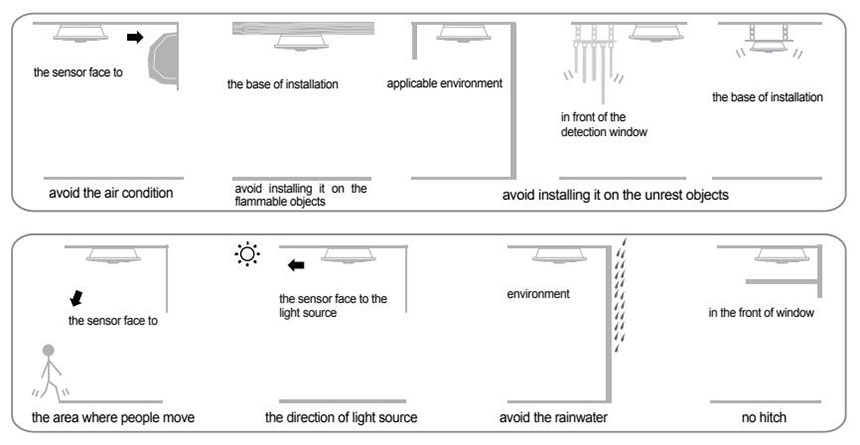
Electrician or experienced human can install it.
The unrest objects can’t be regarded the installation basis-face.
In front of the detection window there should be no hinder or unrest objects effecting detection.
Avoid installing it near air temperature alteration zones for example: air condition, central heating, etc.
Please don’t open the case for your safety if you find the hitch after installation.
Remark
1. Keep the sensor face to the area where human usually move.
2. Keep the sensor face to the position of the ambient light in order to get much more exact illuminance setting.
3. If detect the signal again within the time-delay, the time-delay will be over lied.
4. LUX knob: the luminance of working conditions .When the knob switches☼, it means it can detect all day,when the knob switches , it will only work below the luminance <10 LUX.
5. TIME knob:It is a period that the light turns on slowly to no any signal gradually, till out of work.
Some problem and solved way
The load don’t work:
a: Check the power and the load.
b: If the load is good.
c: Please check if the working light correspond to the ambient light.
The sensitivity is poor:
a: Please check if in front of the detection window there is hinder that effect to receive the signals.
b: Please check if the ambient temperature is too high.
c: Please check if the signals source is in the detection fields.
d: If the moving orientation is right.
The sensor can’t shut automatically the load:
a: If there is continual signal in the detection fields.
b: If the time delay is set to the longest.
c: If the power correspond to the instruction.
d: If the air temperature change near the sensor, for example air condition or central heating etc.

● Please confirm with prefessional installation.
● For safety purposes, please cut off power before installation and removal operations.
● Any losses caused by improper operation,the manufacturer does not undertake any responsibility.
We are committed to promoting the product quality and reliability, however, all theelectronic components have certain probabilities to become ineffective, which will cause some troubles.When designing, we have paid attention to redundant designs and adopted safety quota to avoid any troubles.
This instruction, without our permission, should not be copied for any other purposes.
Hot Tags: PIR Motion Presence Sensor, China, Manufacturers, Suppliers, Factory, Wholesale, Customized
Related Category
Send Inquiry
Please Feel free to give your inquiry in the form below. We will reply you in 24 hours.


